
Fun and Easy Steps to Make a Rubber Band Ball
Time : Oct 02, 2025 View : 845
Ever wondered what to do with all those stray rubber bands piling up around the house? Making a rubber band ball is a simple, satisfying project that turns everyday items into something cool. It’s great for kids, crafters, or anyone looking for a quick DIY activity. Plus, it sparks creativity and keeps hands busy. In this guide, we’ll walk through the process step by step, share tips for success, and explore ways to take your ball to the next level. Whether you’re a beginner or a pro at crafts, you’ll find ideas here to make a rubber band ball that’s uniquely yours.
Why Bother Making a Rubber Band Ball?
Rubber band balls aren’t just random collections. They serve real purposes. For starters, they’re a handy way to store rubber bands. No more digging through drawers for that one band you need. Keep them all in one bouncy spot.
But it’s more than storage. These balls make fun toys. Bounce them, roll them, or use them in games. Kids love the challenge of building bigger ones. Adults might find it relaxing – like a stress ball you create yourself.
Think about the environment too. Reusing rubber bands cuts down on waste. Small acts like this add up. And if you’re into crafts, this project builds skills in patience and design. Start small, and soon you’ll have a ball that’s impressive in size and shape.
The History Behind Rubber Band Balls
People have made rubber band balls for decades. It started as a practical habit – postal workers or office folks wrapping bands around a core. Over time, it became a hobby. Some folks even hold records for the largest ones, weighing pounds.
In schools, teachers use them to teach about elasticity and physics. Stretch a band too far? It snaps. But layered right, they hold strong. It’s a lesson in building things that last.
Once done, don’t let it sit idle. Use it as a paperweight on your desk. Or turn it into a game piece for indoor fun. Toss it gently – the bounce is unpredictable and exciting. Families can compete to see who builds the biggest. It’s cheap entertainment that brings people together.
Gathering Your Materials
You don’t need fancy tools. Most items are already at home. That’s the beauty of this craft – it’s accessible.
Start with rubber bands. Collect different sizes and colors for variety. Thin ones for detail work, thick for bulk. Aim for at least 50 to begin, but more is better for a solid ball.
Next, a core. This is key. Use crumpled paper, a small ball, or even a golf ball if you have one. The core gives shape and makes wrapping easier.
That’s it. No glue, no scissors. Just bands and a starter.
Choosing the Right Rubber Bands
Not all bands are equal. Natural rubber ones stretch well and hold tight. Synthetic might slip. Go for fresh bands – old ones break easy.
Colors add fun. Mix red, blue, green for a rainbow effect. Or stick to one hue for a clean look.
Where to Find Rubber Bands
Check your junk drawer. Or ask at offices – they often have extras from mail. Markets bundle produce with them. Collect over time. It’s free and eco-friendly.
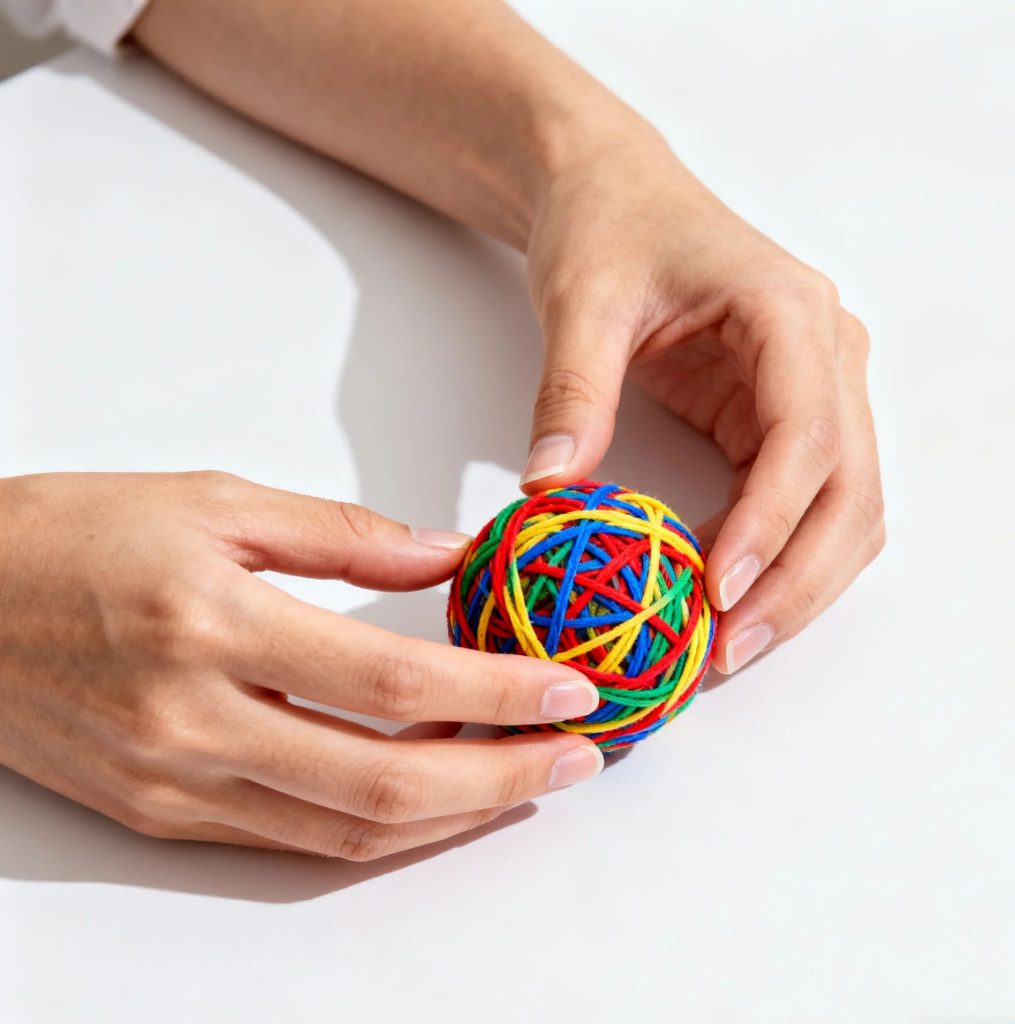
Step-by-Step Guide to Building Your Ball
Ready to start? Follow these steps. Take your time – rushing leads to lumps.
First, form the core. Crumple paper into a tight ball, about the size of a ping-pong ball. Smooth it out.
Now, wrap the first band. Stretch it around the core. Cross it over itself for grip.
Add the next. Turn the core and wrap perpendicular to the first. This builds even layers.
Keep going. Alternate directions. Every few bands, press down to compact.
As it grows, it gets easier. The ball holds shape on its own.
Aim for symmetry. Uneven spots make it wobbly.
Common Mistakes to Avoid
Don’t stretch bands too tight at first. They snap and hurt. Gentle pulls work best.
Avoid loose wraps. They unravel. Snug is the way.
If it gets lumpy, unwrap a layer and redo. Patience pays off.
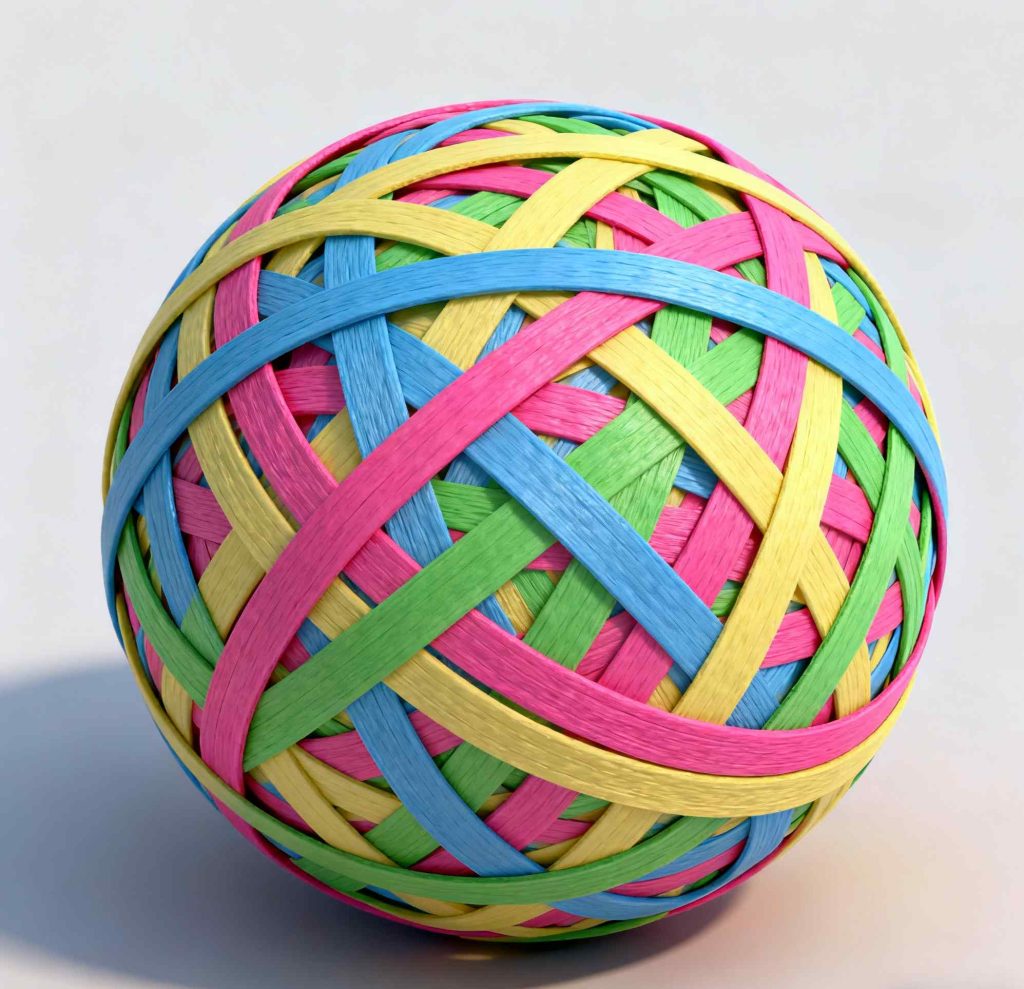
Tips for a Perfect Shape
Roll it between palms now and then. This evens the surface.
Use smaller bands inside, larger outside. Builds strength.
Stop when it’s the size you want. Or keep adding – no limits.
Creative Twists on the Classic Ball
Bored with basic? Try variations. Make themed balls.
For holidays, use festive colors. Red and green for Christmas.
Or shape it differently. Not round – try oval. Harder, but unique.
Add patterns. Layer colors in stripes. Like a beach ball.
Kids can make mini versions for keychains. Attach a loop.
Advanced Techniques for Bigger Balls
For giants, start with a larger core. Tennis ball works.
Wrap in sections. Build one half, then the other.
Store in a box to prevent rolling away.
Fun Games with Your Rubber Band Ball
Play catch. The bounce is wild.
Set up targets. Aim for baskets.
Hide and seek with the ball. Warm, cold clues.
Keeps everyone active indoors.
Safety First When Crafting
Rubber bands snap. Wear eye protection if worried.
Kids under 5? Supervise. Small parts choke hazard.
Allergies? Some have latex. Check.
Clean hands prevent dirt buildup.
Storing Your Creation
Keep in cool, dark spot. Sun fades colors.
Away from heat – melts bands.
Box or bag works.
Long-Term Care
Bands age. Replace outer ones if brittle.
Dust off gently. No water – weakens.
With care, lasts years.
Benefits of This Simple Craft
Beyond fun, it teaches. Kids learn fine motor skills.
Reduces stress. Repetitive wrapping calms.
Boosts creativity. Experiment with designs.
Saves money. Free materials.
Builds pride. Your own creation.
How It Builds Personal Brand
Share online. Post pics. Shows crafty side.
Gift them. Personal touch.
In business, use as promo. Fun giveaway.
Community Building Through Crafts
Join groups. Share tips.
Host workshops. Bond over building.
Spreads joy.
Meet Zhejiang VIET-Y Rubber Products Co., Ltd.: Your Trusted Supplier for Rubber Band Series Products
Looking for quality rubber bands to fuel your projects? Zhejiang VIET-Y Rubber Products Co., Ltd. fits the bill. Based in Yiwu City, China, this company started in 2010 as one of the first focused on rubber band production. They offer high-quality bands at fair prices, shipping worldwide. With a strong team and strict quality checks, they stand by their goods. Their mission? Connect the world through elastic solutions. They value toughness, innovation, and honest partnerships. If you need reliable supplies, they’re a solid choice.
Conclusion
Making a rubber band ball is more than a craft – it’s a way to reuse, relax, and create. From simple steps to creative spins, it offers endless fun. Give it a try. You’ll end up with something practical and personal. Who knows? It might spark more DIY adventures.
FAQs
What’s the best core to use when you make a rubber band ball?
Crumpled paper works great as a starter. It’s easy to shape and holds bands well. For bigger ones, try a small ball.
How many rubber bands do I need to make a rubber band ball?
Start with 50 for a small one. For larger, hundreds. Collect over time – it’s part of the fun.
Can kids safely make a rubber band ball?
Yes, with adult help. Watch for snaps. Good for ages 6 and up. Teaches care.
Why does my rubber band ball unravel sometimes?
Loose wraps cause it. Stretch snug and cross layers. Press down often.
Where can I get more ideas to make a rubber band ball unique?
Look online for patterns. Mix colors. Or add themes like sports. Experiment!
Latest News
-
Jun. 04, 2026TPU Elastics Safety & Compliance for B2B Food and Hygiene Packaging 2026VIET-Y offers high elastic food grade TPU rubber bands with FDA and EU compliance for food and hygiene packaging. Superior durability, abrasion resistance and safety. Contact us for samples and bulk custom solutions.
-
Jun. 04, 2026Customizable Rubber Bands: Key to B2B Organization and Efficiency in 2026VIET-Y specializes in high-elasticity natural rubber bands and customizable elastic bands for B2B logistics, offices, and supply chains. Durable, color-coded solutions with strong rebound deliver reliable performance and workflow efficiency. Contact us for a free quote.
-
May. 28, 2026Reliable Wholesale Rubber Band Suppliers: B2B Sourcing Guide 2026VIET-Y offers reliable wholesale rubber band solutions with strict quality control, OEM/ODM capability, timely delivery, and ISO certification. This B2B sourcing guide helps buyers select trusted suppliers for sustainable supply chains in 2026.
